..........snip.......
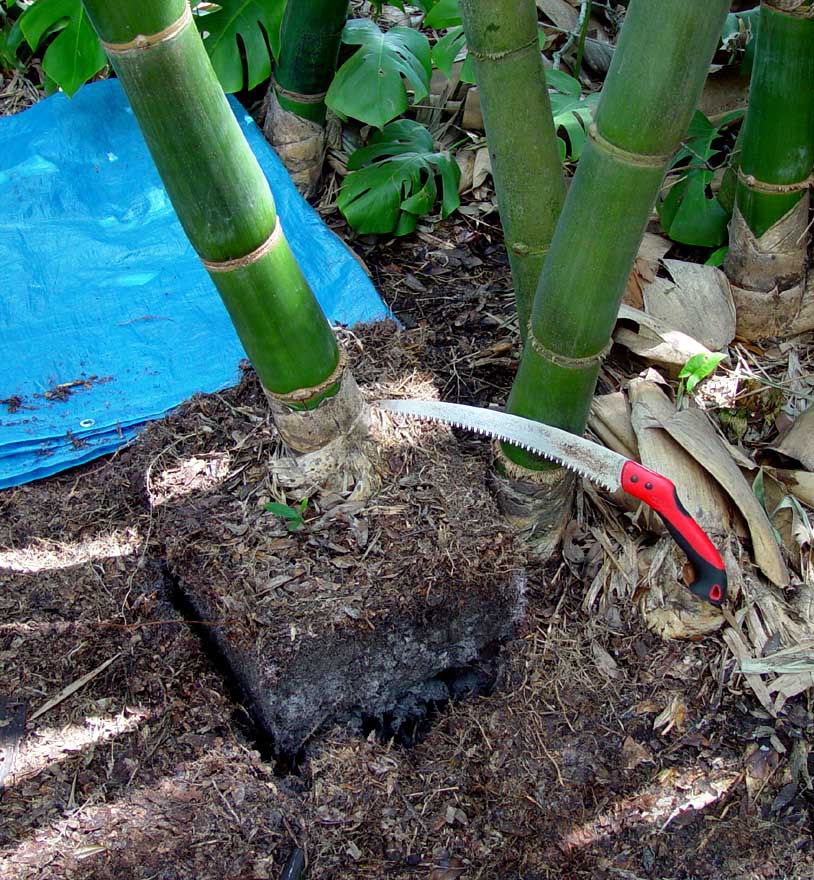
Since I've been having problems with my shoulders and a few vertebraes in my neck, I've been trying to limiting my hard digging I used to do digging out bamboo. I have a customer who has been after me for a while to dig out a large B. oldhamii for him, but until recently I had been declining his requests. I decided to try a new approach. One that does not involve digging, but without digging I would not know where to cut the rhizome away from the mother plant. Using a 13 inch pruning saw and the above method, I took the little over 4 inch diameter B. oldhamii below out of the ground without any digging. It took a lot less effort and the cutting point came out exactly as I wanted it to.
Yesterday, I decided to try "cutting" out of the ground another B. oldhamii. This time I decided to take a few pictures along the way.
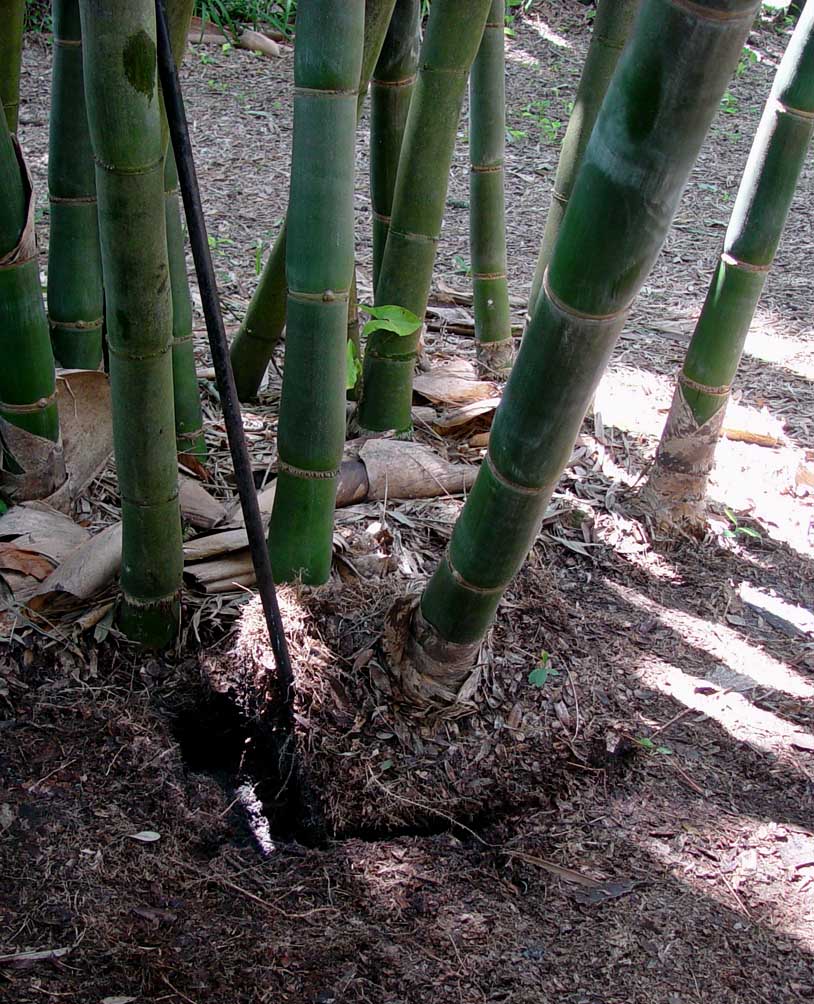
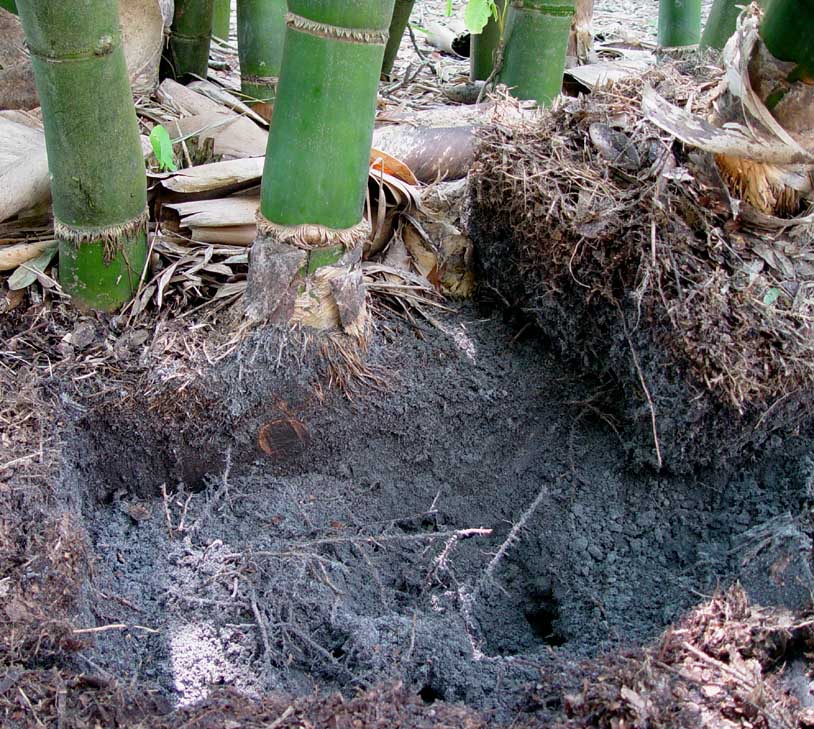
Picture # 1
The red handled knife is what I used to saw all the way around the rhizome and roots. Looking a the branch buds, I could tell that the culm I wanted to extract from the ground was growing off of the mother culm that the knife blade is laying against. I made sure that I sawed right up against the mother plant so that I would cut the rhizome at the neck of the plant I was extracting from the ground. This pictures shows that I have already sawed all the way around the culm division and that I have used a pry bar to pop it out of the ground.
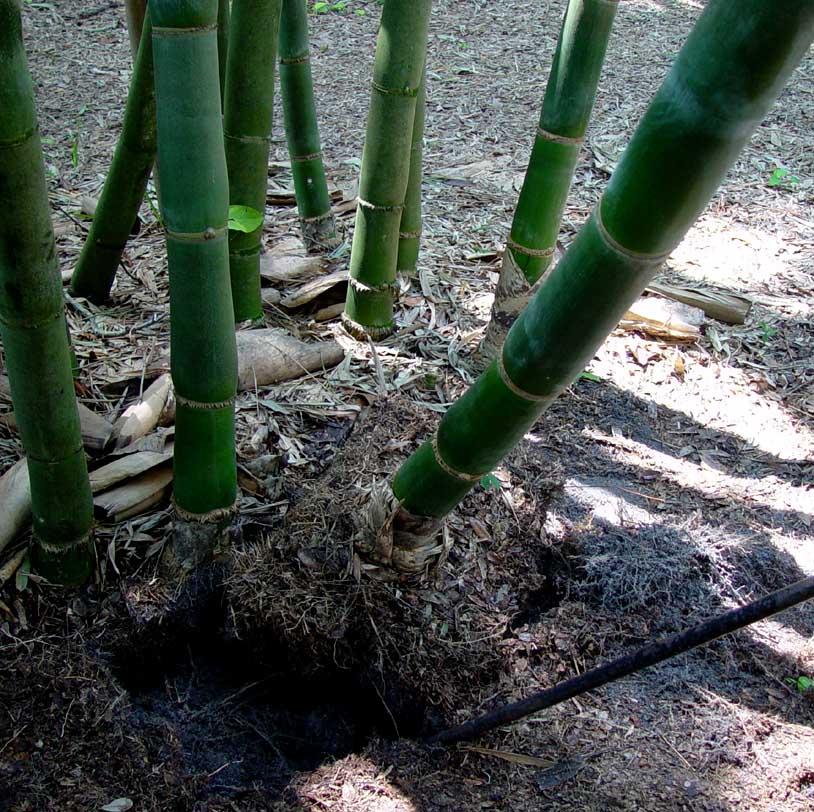
Picture # 2
I'm beginning to move the rhizome rootball to the right in an attempt to get it out of the hole.
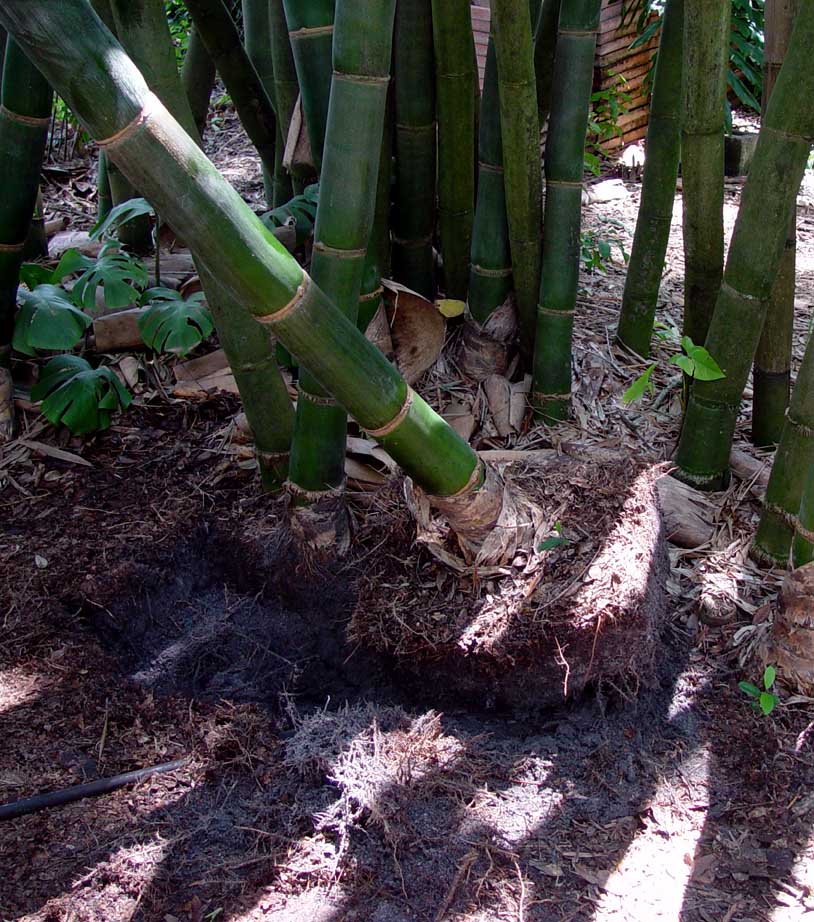
Picture # 3
Making progress. I had to trim a little bit off of the hole, on the right hand side, to get the rectangular rootball to slide and lift out of the hole.
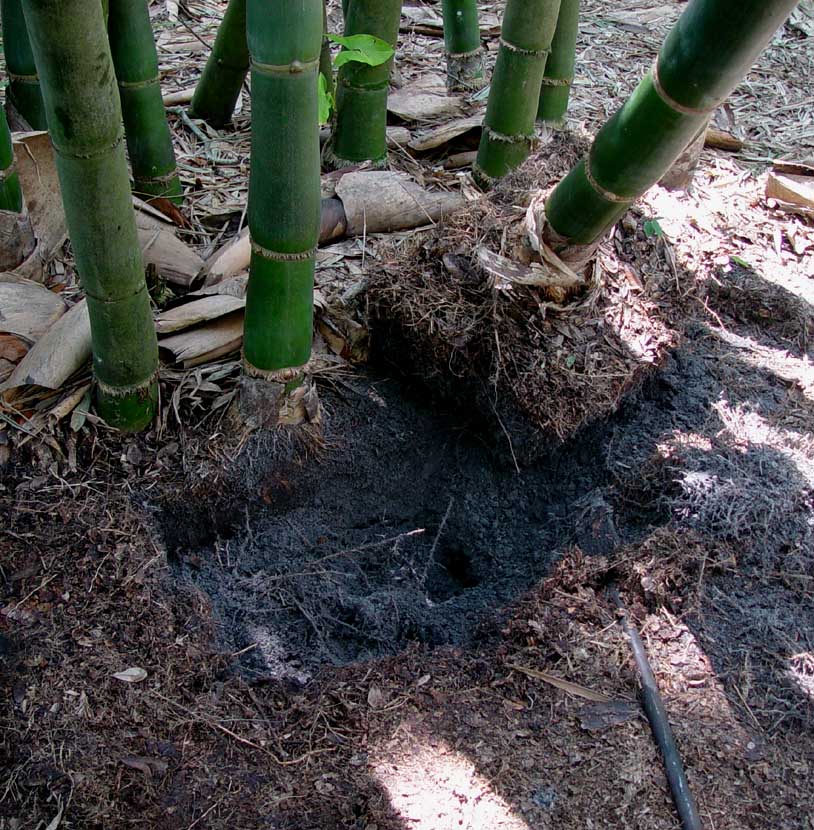
Picture # 4
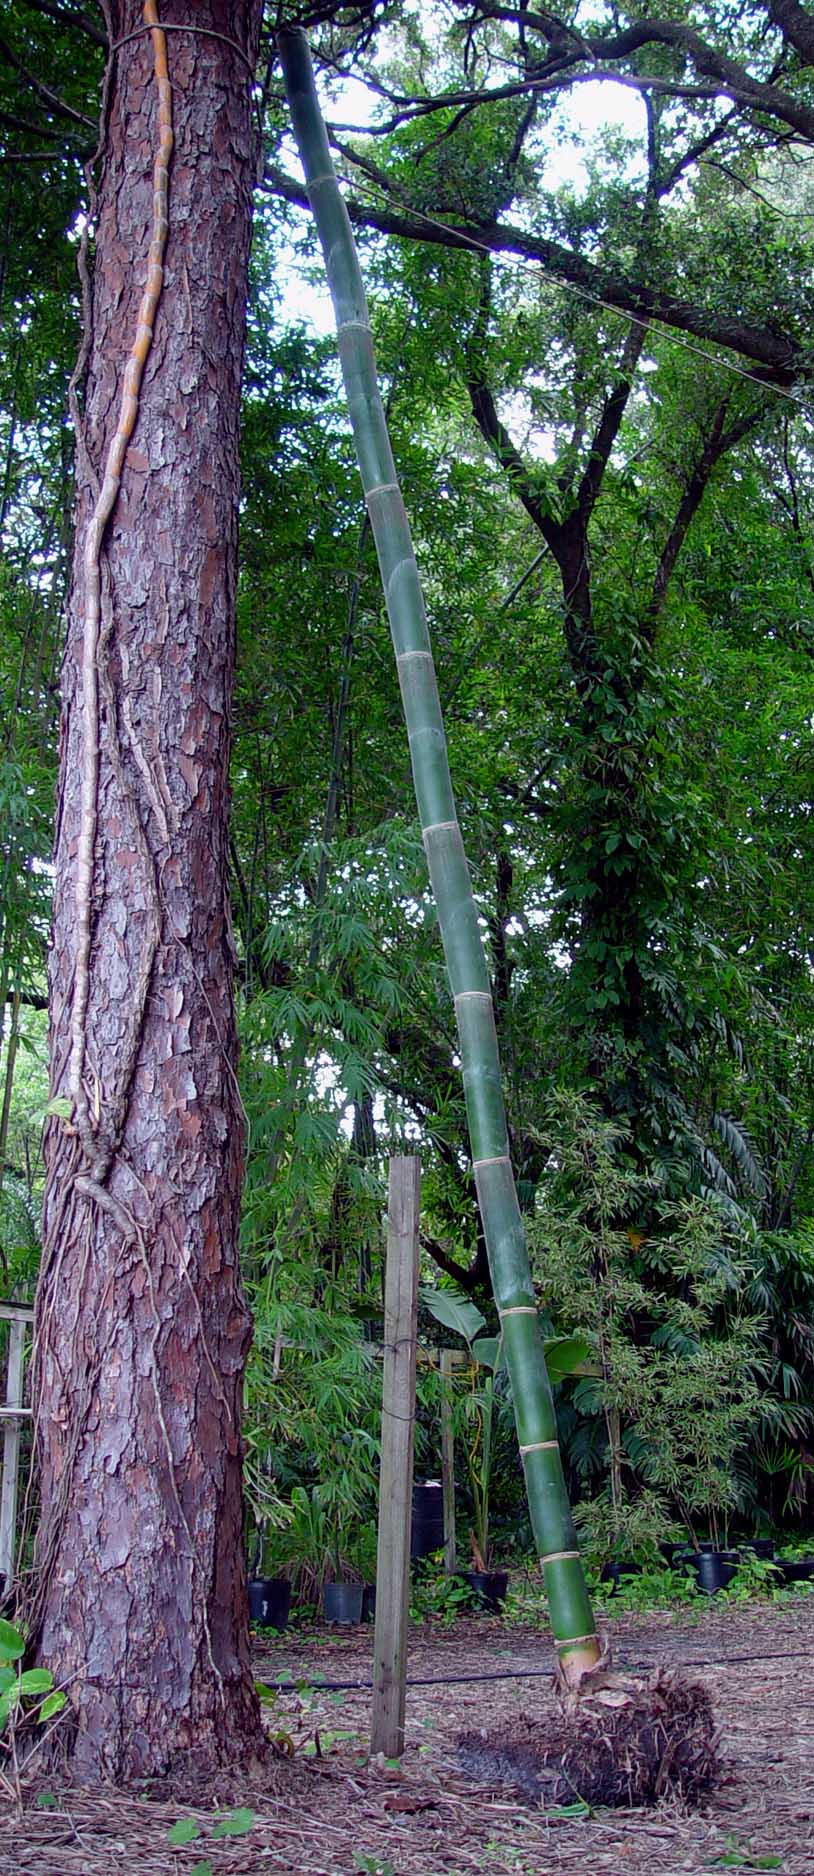
Almost out of the hole. The top of the culm is being held up by a large live oak tree branch. If the culm had of been out in the open, then I could have just pushed it over and allowed it to mostly lift itself out of the hole, but I have a lot of trees and I'm not willing to cut any of them. The trees provide a lot of shade and make my house more tolerable to live in; the house being mostly shaded from the hot Florida Summer sun.
Picture # 5
Out of the hole!
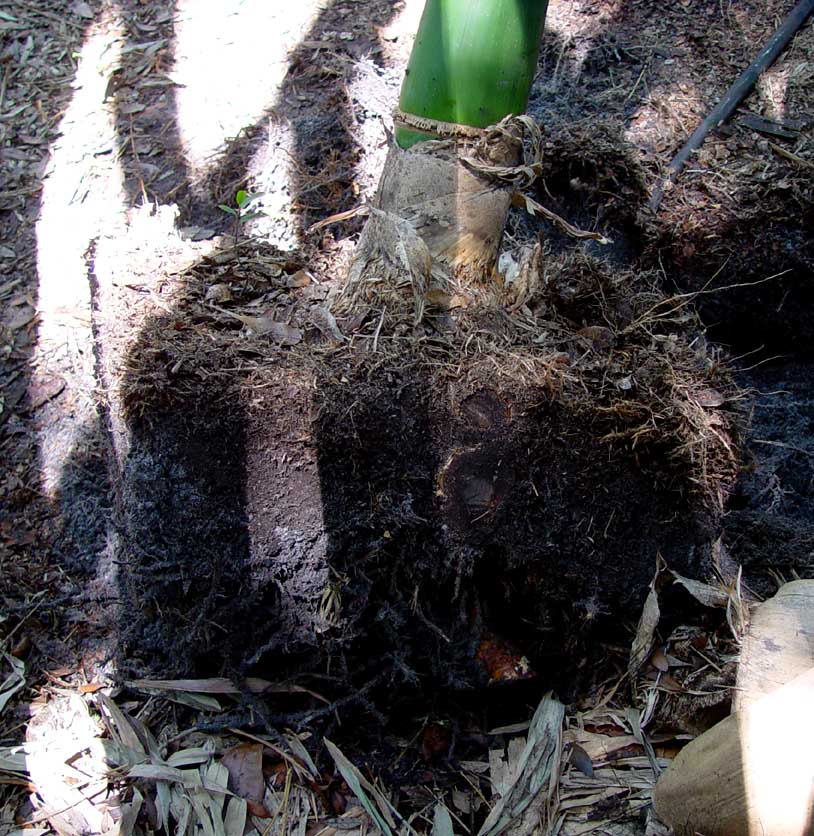
Picture # 6
Pic. shows where I cut the rhizome from the mother plant.
Picture # 7
Showing the side of the new division where I cut it from the mother plant. Since it is about time for my B. oldhamii to start shooting, there were 2 new shoots that were growing underground that I had to cut through. You can see these 2, plus where I cut the rhiozome at the neck of the rhizome.
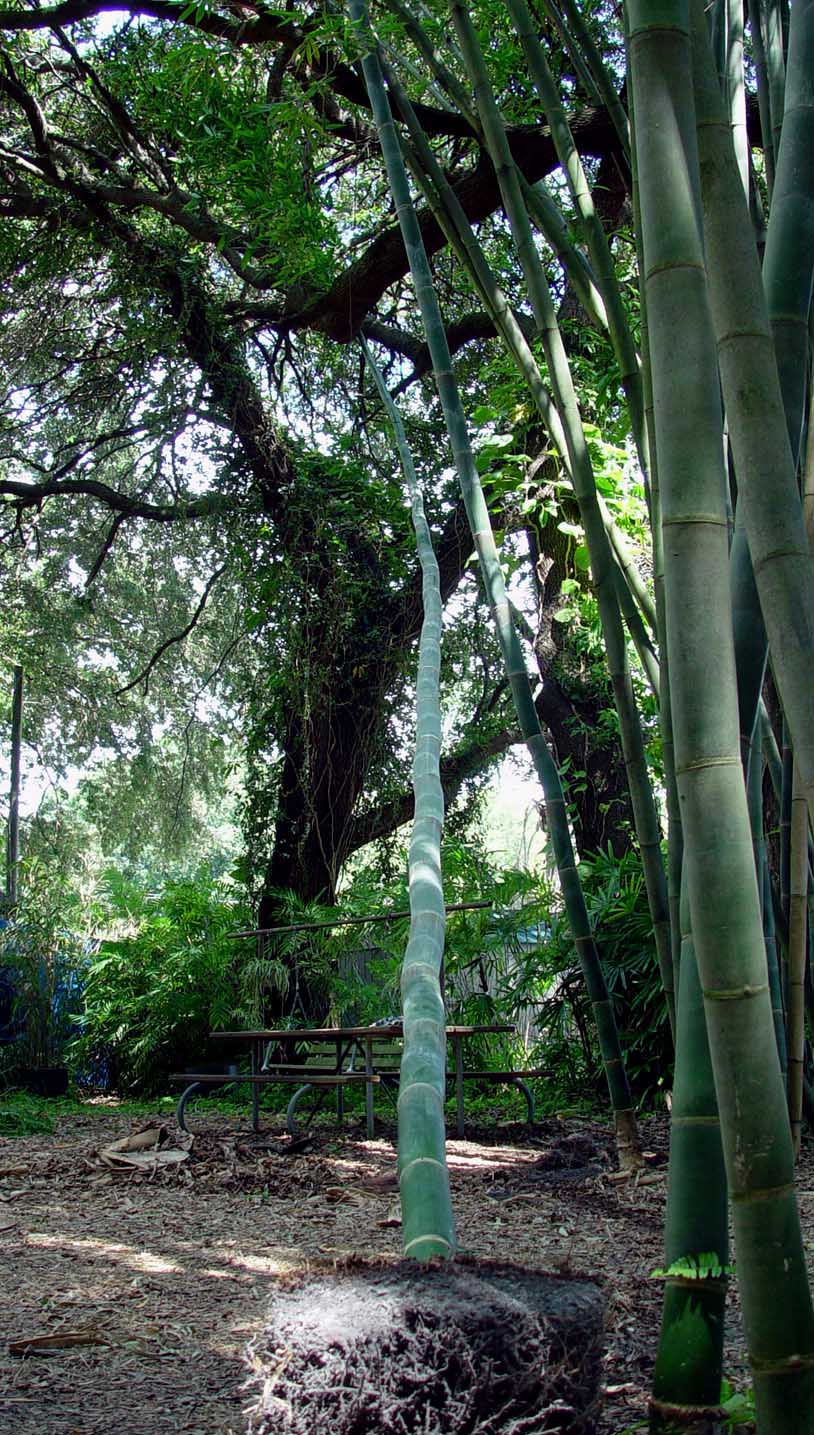
Picture # 8
Shows the top of the culm being pulled from the tree branches. Note that where the rhizome rootball is now, is not next to the original clump that I took the plant from. The original clump is just to the right of the picnic table in the back of the picture.
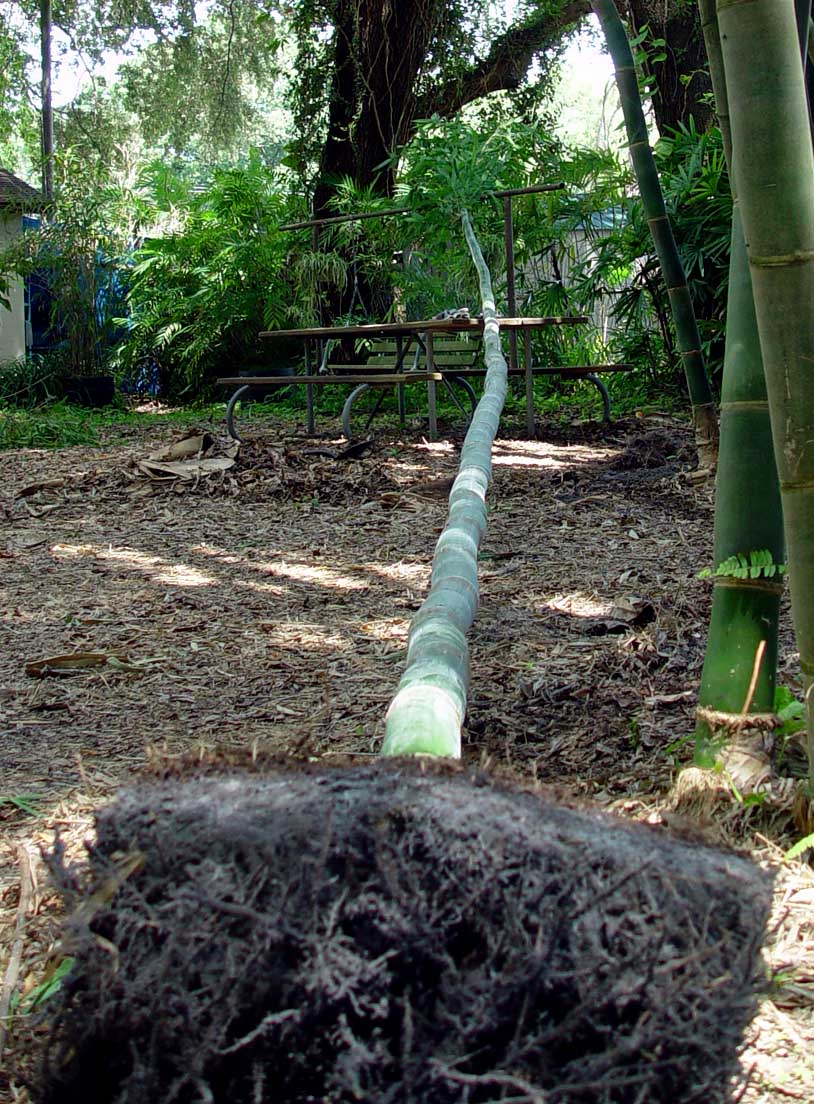
Picture # 9
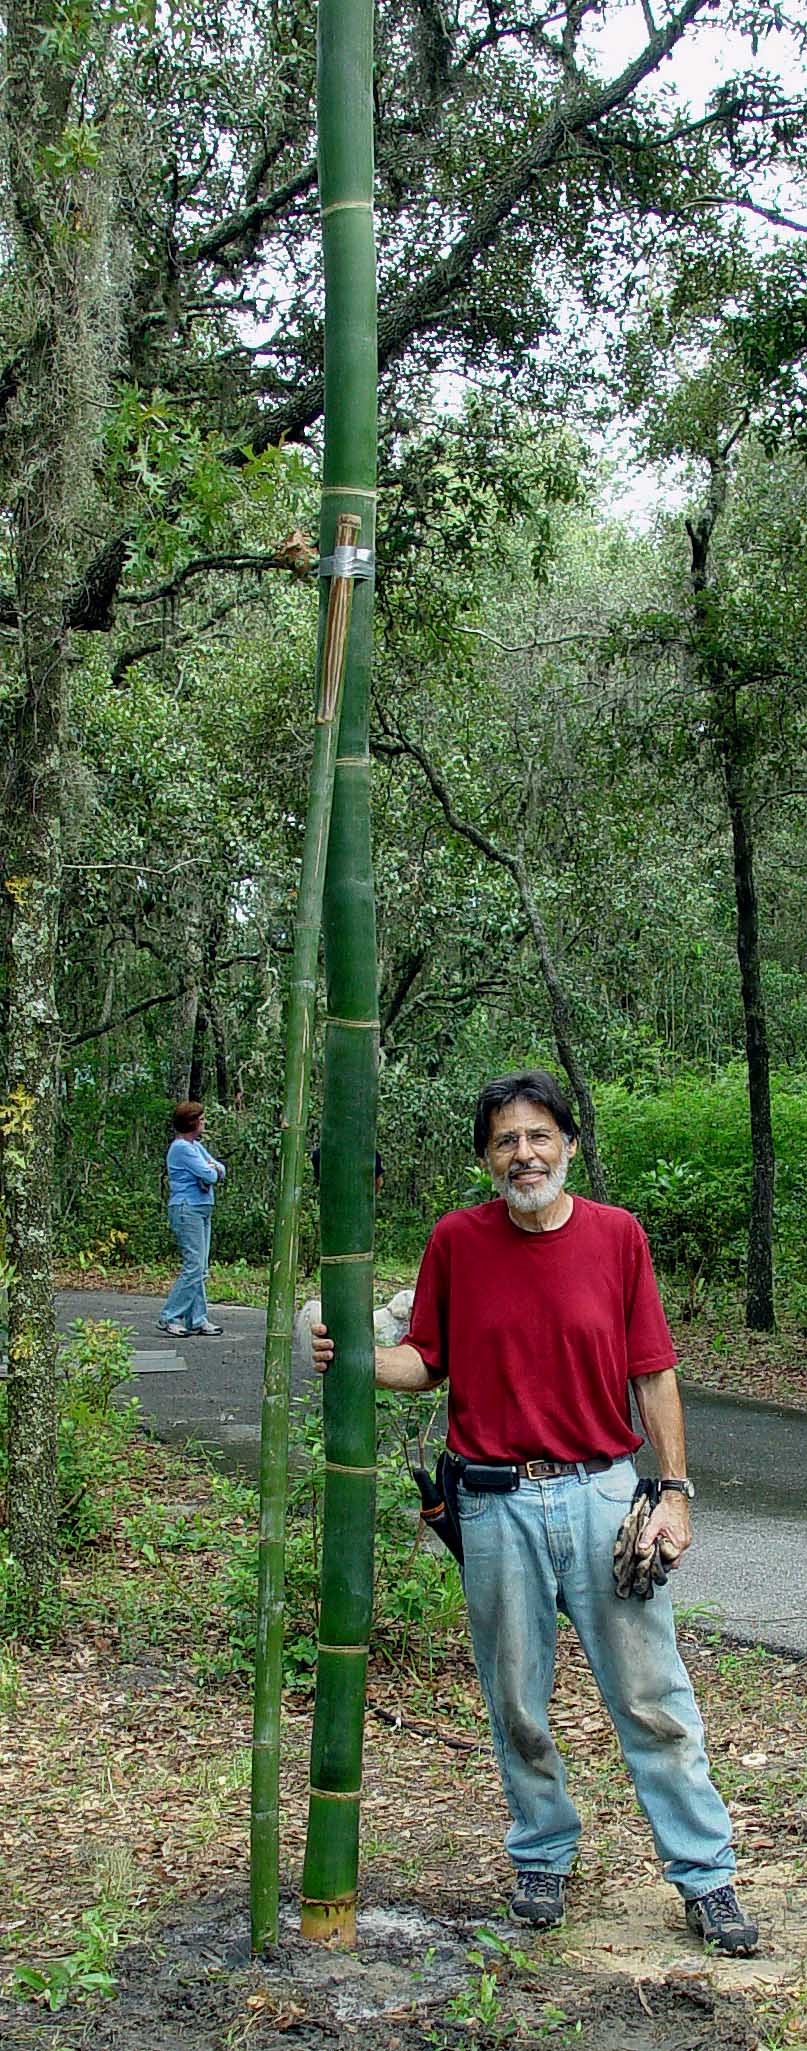
Down and out of the trees. Now I can top it.
Picture # 10
Topped at about 16 feet above ground level. The way my B. oldhamii grows, it puts out a few branch buds on several basal nodes, then it skips putting out branch buds, then then starts back up with branch buds between 10 to 20 feet up the culm. Cutting at 16 feet gives me branch buds at the bottom and branch buds at the top.
I would have taken some more pictures, but the old Summertime lightning started cracking down and I had to hurry. I laid the rhizome rootball under my "new division" sprinkling system and covered the rootball with about 10 towels so that the roots would remain moist. Then I took my tools and hurried into my house.
The cut out rootball measures approximately 16 in X 20 inches X 15 inches deep.
Picture # 1
Picture # 2
Picture # 3
Picture # 4
Picture # 5
Picture # 6
Picture # 7
Picture # 8
Picture # 9
Picture # 10